DIY: How To Make your own Pilates 2×4!
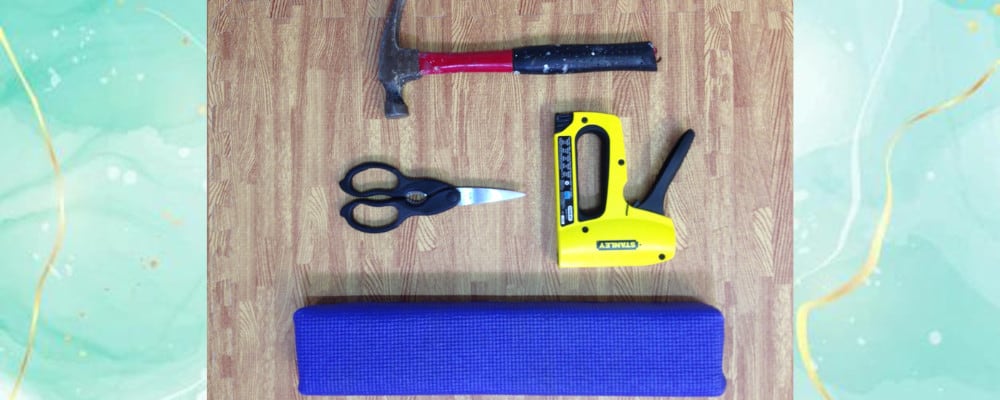
The Pilates 2×4 is a wonderful small piece of Pilates apparatus. Despite its low profile and just like its friends the Foot Corrector and the Toe Corrector, the exercises on the 2×4 can give you a full body workout.
2×4 exercises can better your alignment and balance. It’s also a great place to connect the lower extremities into your center.
And the Pilates 2×4 is a snap to make with a few tools and just about 10 minutes.
Watch out! You just might find your butt.
What you’ll need
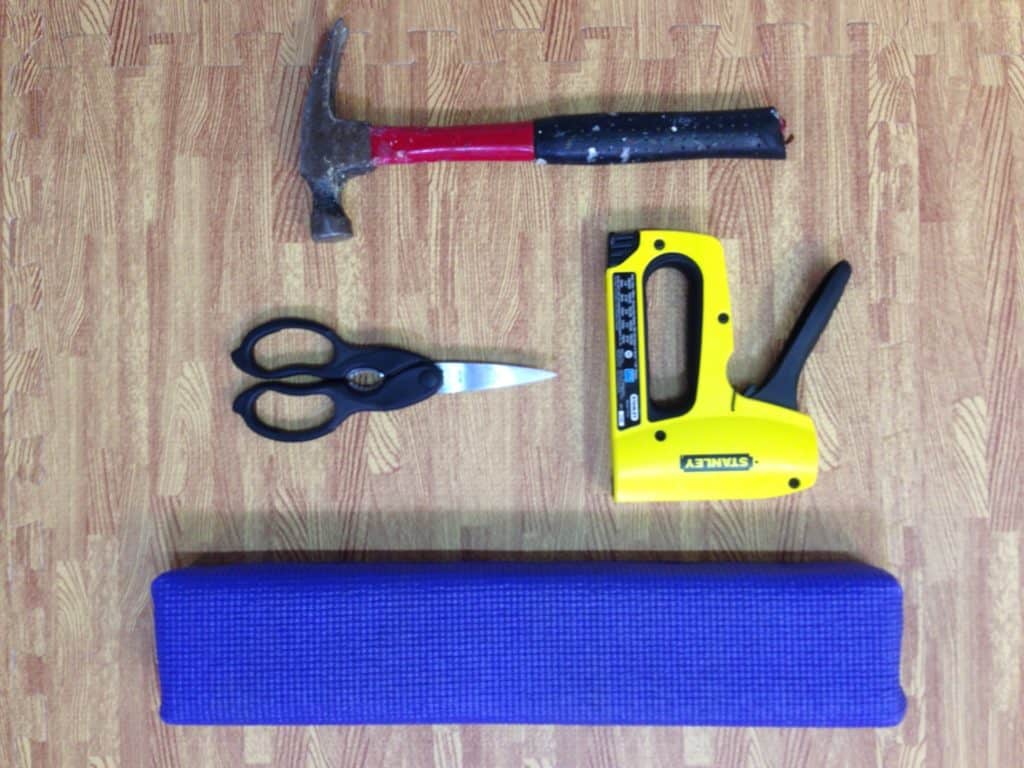
materials:
- 2″x4″ (4 cm x 9 cm) board approximately 18″ (46 cm) long (Gratz measurement) Ours measured about 2′ in length. We found it in the basement of our house so we weren’t picky!
- a rubber yoga mat you don’t mind parting with. This will be your upholstery. The fabric must be able to wrap all around the 2×4 board with enough extra to overlap on the sides and ends. You’ll be wrapping up a special gift for your studio!
tools:
- scissors that can cleanly cut a yoga mat
- a staple gun
- a small hammer
let’s get started:
1. “Measure twice, cut once.”
The width of our yoga mat was a perfect size to cover our 2×4 and leave enough overlap to cover both ends.
Measure the length by wrapping the board in the yoga mat first. You’ll want to make sure you have enough cover it entirely with not too much overlap of fabric.
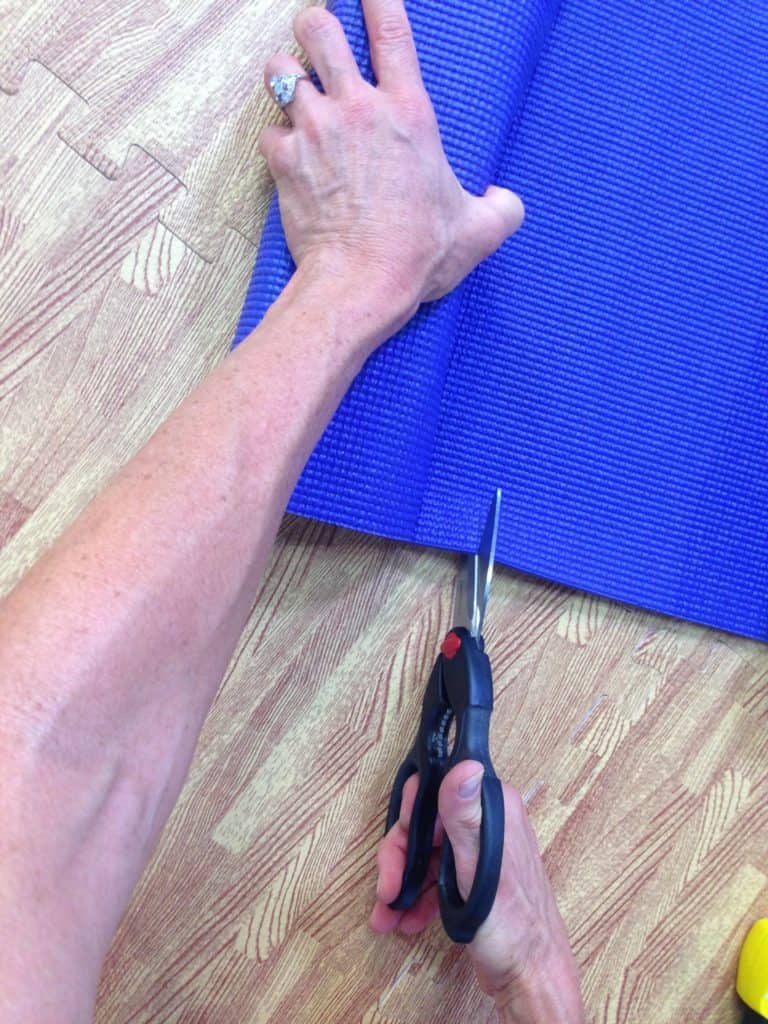
2. Use the board and the texture of the yoga mat as a guide to cut a straight line.
Set aside the excess fabric for future 2x4s.
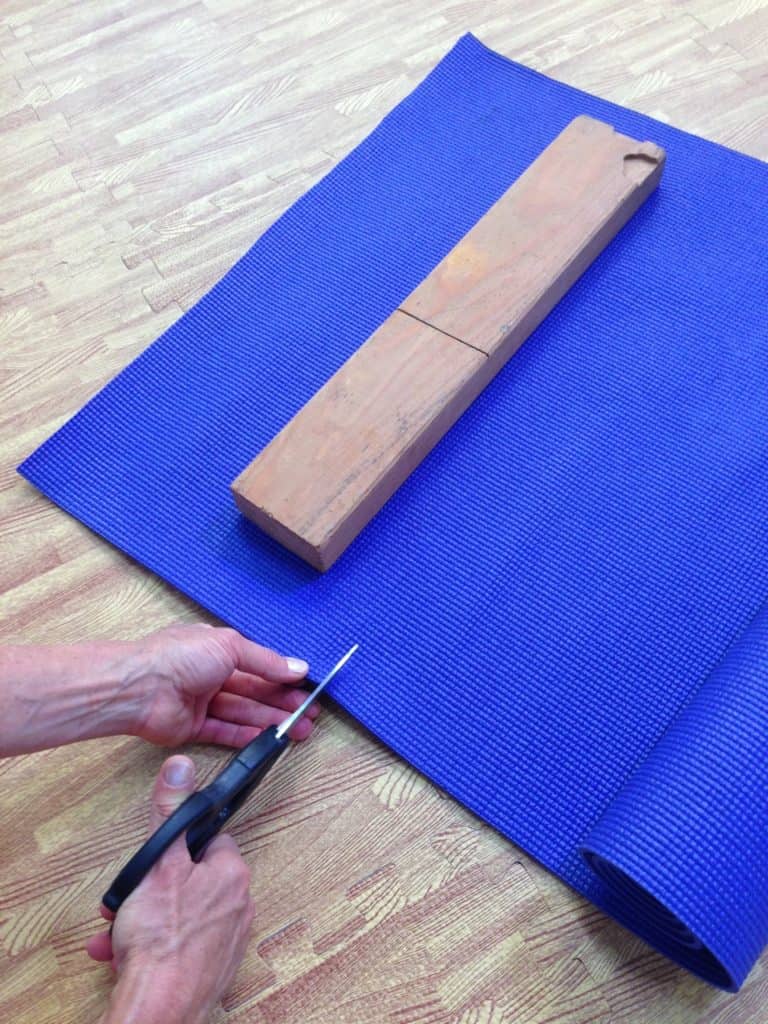
3. Place the 2×4 along the edge of the yoga mat leaving just enough selvage to overlap when it is wrapped.
1/4″ or 1 cm should be plenty.
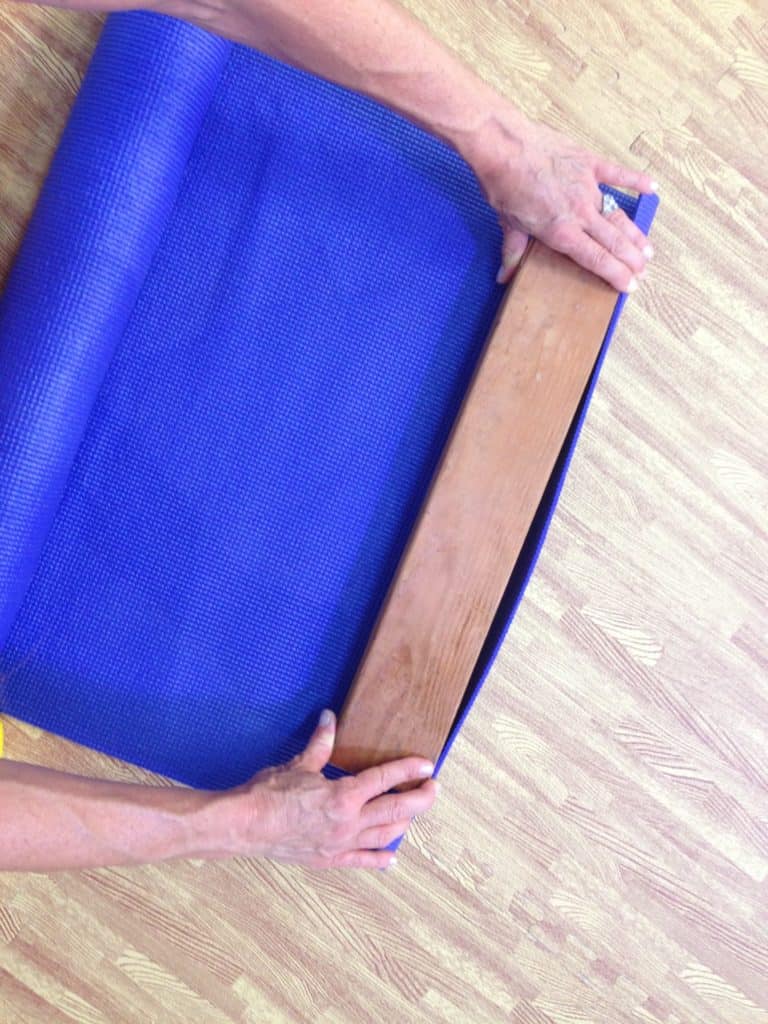
4. Secure the edge of the yoga mat to the 2×4 board with a few staples.
There should not be any gaps where the mat pulls away from the board, but this edge will be under a top layer of overlap.
Place less staples on this underside to decrease bulk and leave room for more precise placement of staples on the finished side.
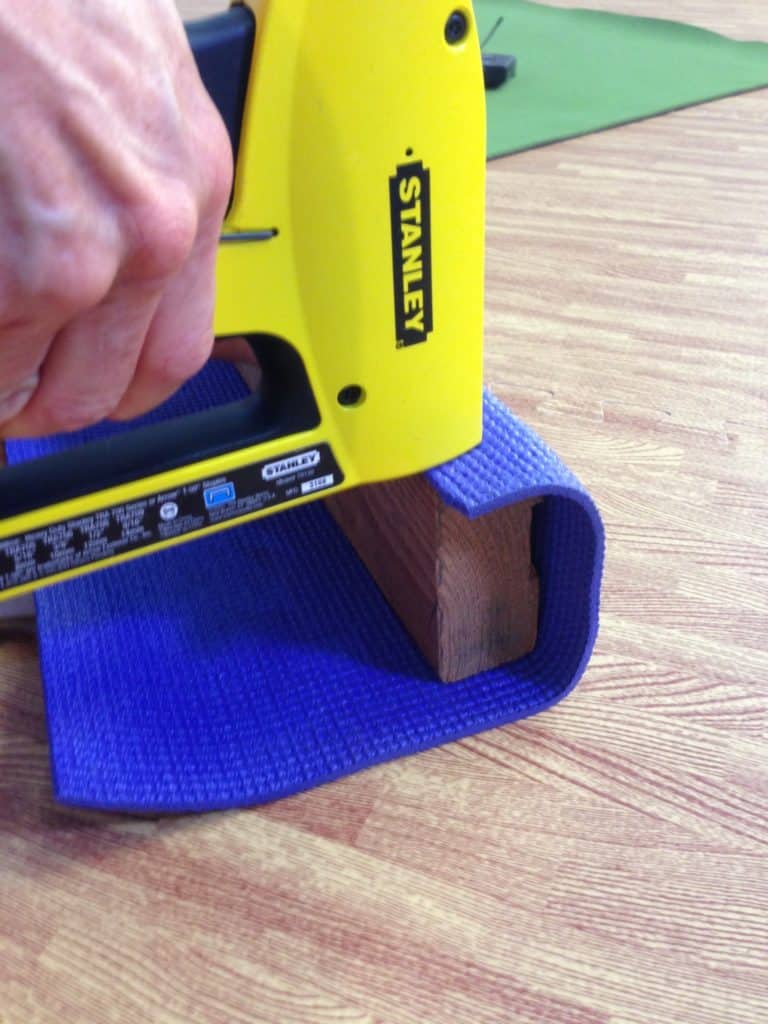
5. Pull the yoga mat tightly and firmly wrap the 2×4 board with the yoga mat and secure well with staples.
Keep the mat smooth as you wrap. Pull the yoga mat nice and tight after the first set of staples and keep it that way while stapling the second set.
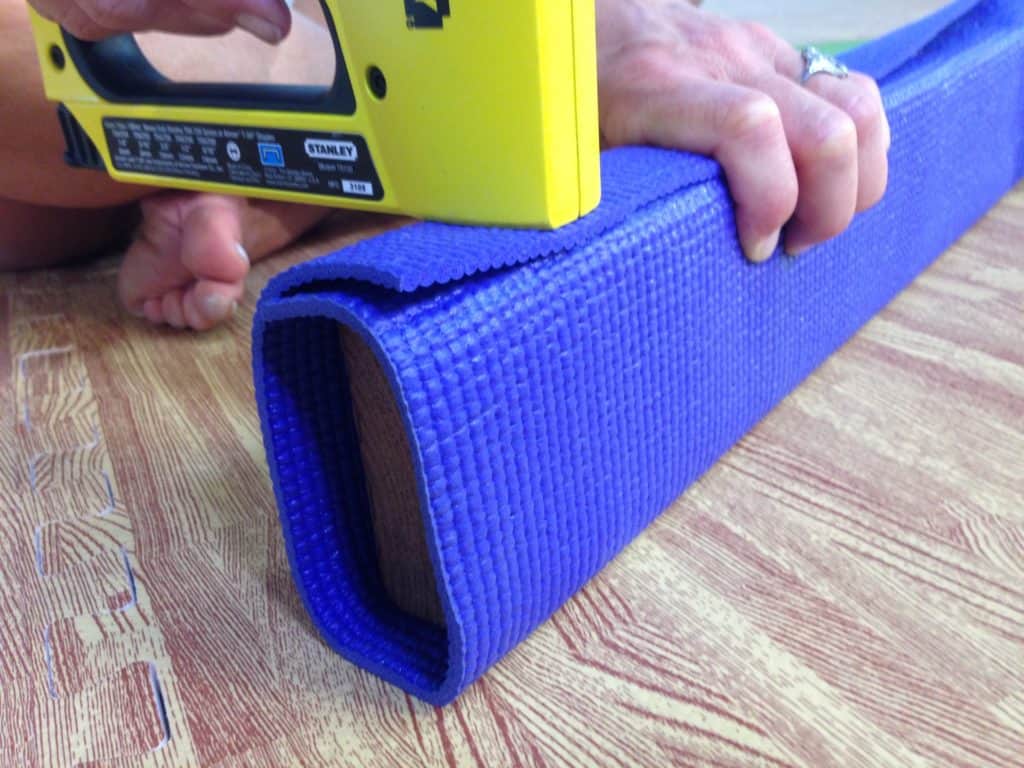
Remember these staples will be the finished edge of your 2×4 apparatus. Use the hammer to to smash the staples in so they don’t stick out.
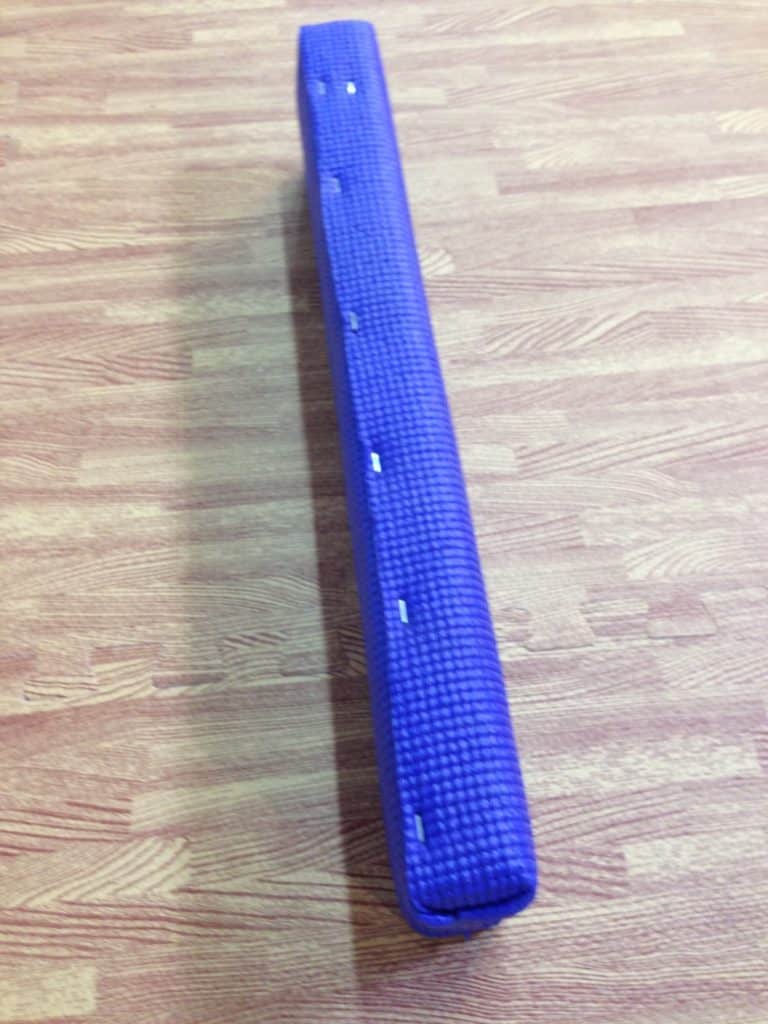
6. Gift wrap the ends of the 2×4 and secure well with staples.
Almost finished…
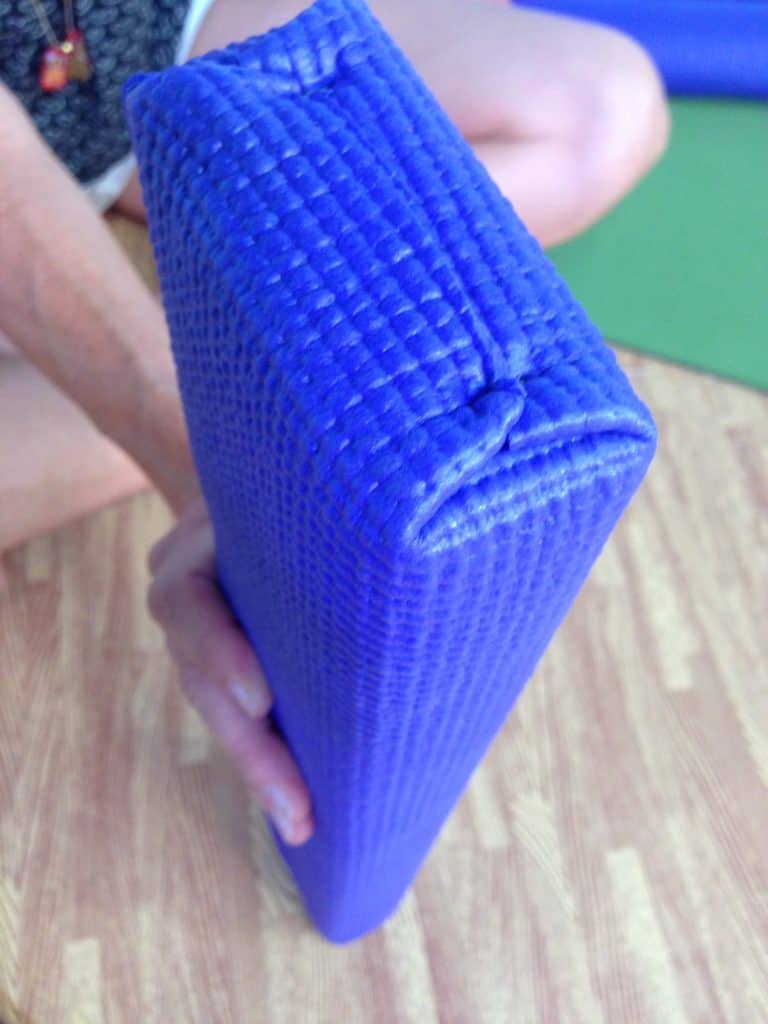
Now you must give it an inaugural voyage!
Ready, Set? Workout!
Put your new Pilates 2×4 to good use with our short video. Andrea teaches a few exercises that can be a perfect beginning or ending for your next workout.
Enjoy!

TotallyPilates
Member since 2016
I’ve built a small barrel and a high mat and I’ll try the ladder barrel. Anybody has tried a wunda chair by any chance or where I could find some directions/measurements? It would be greatly appreciated. I live in an island and getting equipment shipped is super expensive when on top of that you add the taxes. Let me know 🙂
Posted September 14, 2017 |
Alisa Wyatt
Member since 2011
Hi TotallyPilates,
We don’t have anyone who has made a Wunda Chair on here yet I’m sorry. I’ll put the word out for it, and you might try asking Sunni Almond via her facebook group ‘Going More Joe’ I know her husband has made a few items for her.
Posted September 15, 2017 |
Alisa Wyatt
Member since 2011
wonderful!!
PLease take photos and send them to Jack@pilatesology.com. He will make sure to post them : )
I can’t wait to see the small barrel!!
Posted September 29, 2016 |
Maria Hammond
Im really getting into the making pilates equipment, especially where i am it is a big help, getting it shipped in would be a nightmare, so far making 6 high mats, one ladder barrel and i want to make some small barrels!
Posted September 29, 2016 |
Andrea Maida
Member since 2012
Wow Maria, that sounds amazing! Please let us know when you have completed all your projects – wow you will have built an entire studio 🙂 I would love to see what you have created – keep us posted! I too would love to be able to make a Small Barrel!! Take notes LOL…
Posted October 2, 2016 |
Andrea Maida
Member since 2012
What an awesome idea for holiday gifts for clients. I love it. So glad you found this post to be helpful 🙂 Thanks for sharing and keep up the good work!
Posted December 13, 2015 |
Ynowak
Member since 2012
I’m so glad I came across this post! I’m making one for each of my clients this year. The ones I have passed out so far have been a big hit! Thank you so much for sharing the directions.
Posted December 12, 2015 |